Let’s wish upon an origami star! Learn to make one (or dozens!) of lucky stars.
Learn the art of crafting charming origami lucky stars, often known as wishing stars. These delightful creations can be used to add a touch of colour to any space, decorate for a party, enhance gift wrapping, or to simply invite a little luck into your life.
Let’s get started!

How to Prepare:
Collect the following items before you begin:
- Paper: Printer paper, A4 paper, letter paper, patterned paper, or origami paper cut into strips
- Paper cutter or scissors
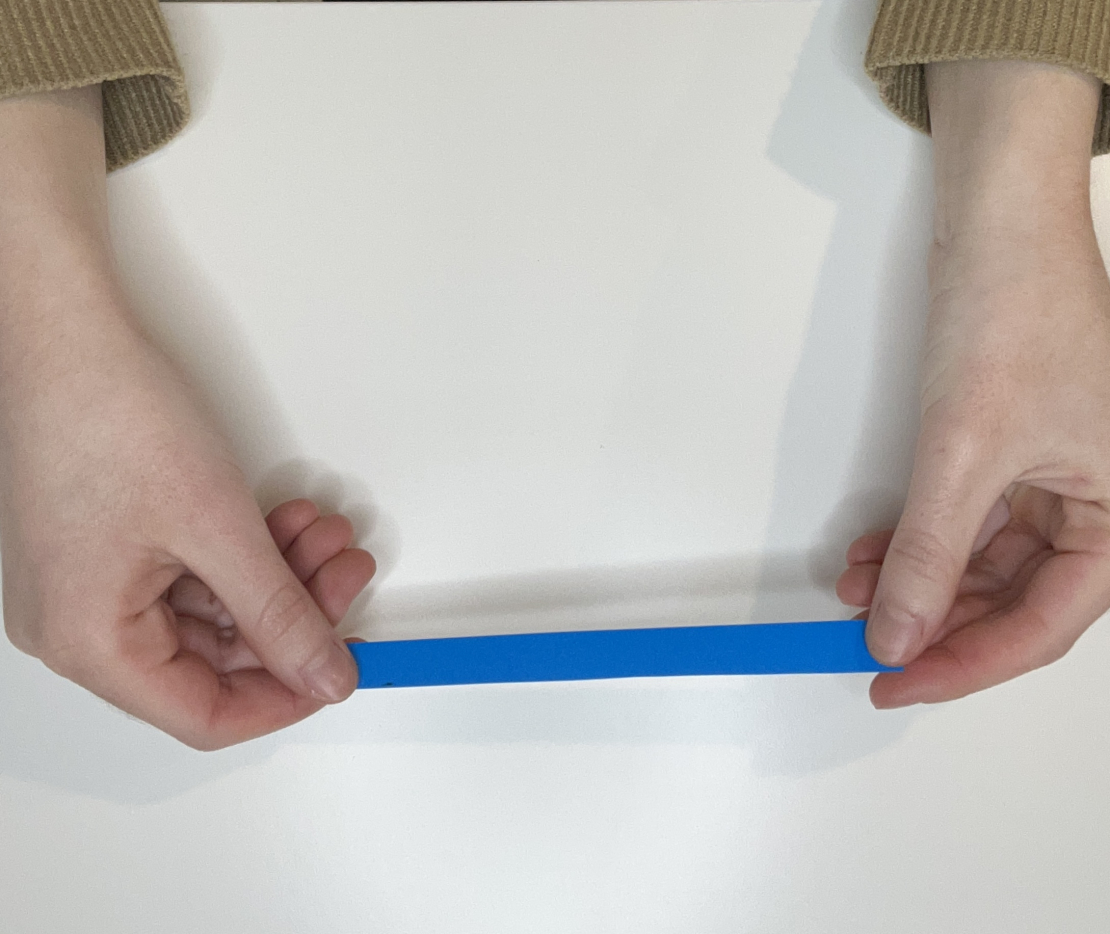
- RuleOrigami lucky stars are crafted from paper strips, usually measuring 10 to 11 inches in length and ranging from 1/4 inch to 3/4 inch in width.
💡Activity Hack! Thinner paper strips make smaller stars while wider strips make larger stars. It’s completely up to you how big or small you want your stars to be!
Build your Paper Stars!
Part 1: Begin Folding the Strip of Paper
Step 1: Start with your strip of paper by holding it horizontally. Place the coloured side up if you're using coloured or origami paper!
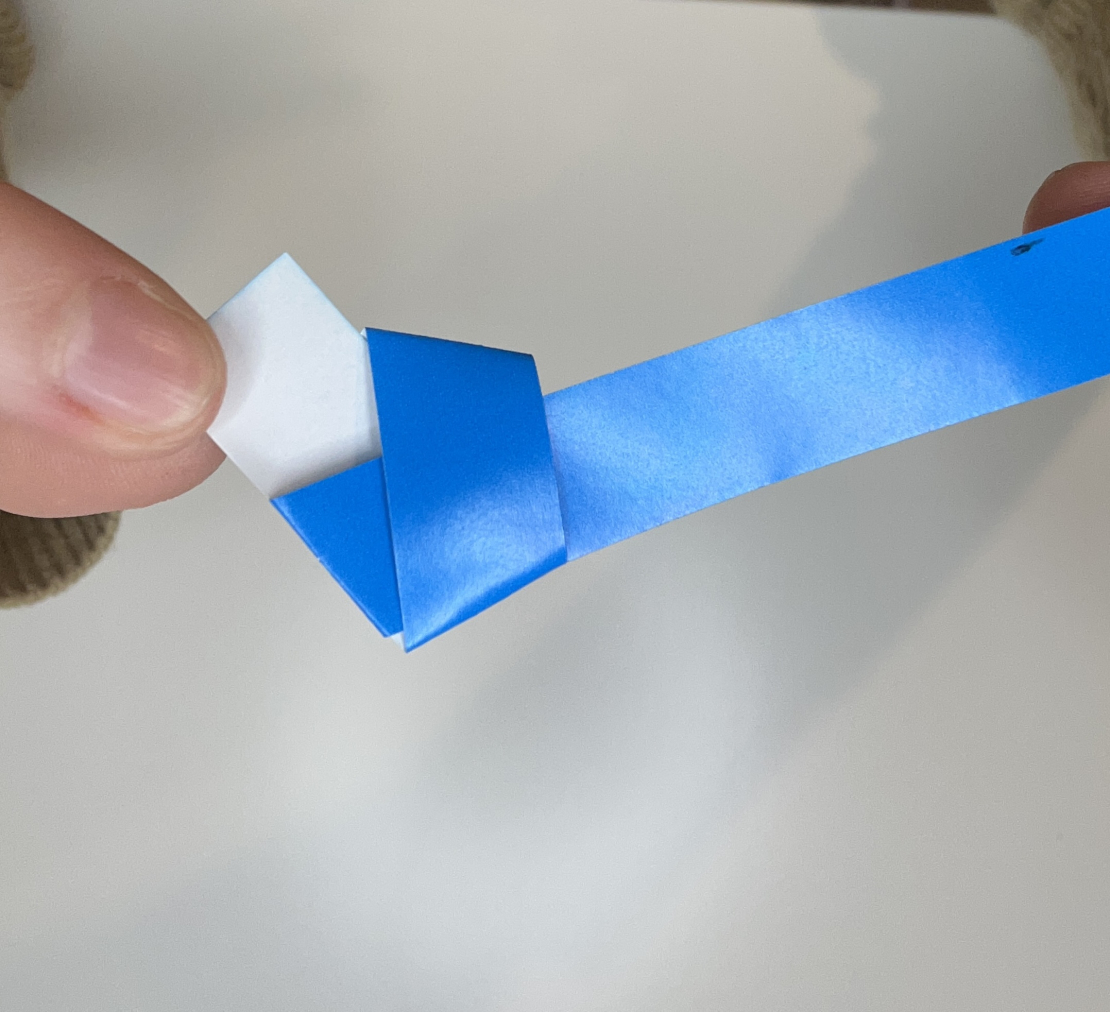
Step 2: Make a loop on the right end of your paper strip. Bring the right end of the paper over and down from behind.
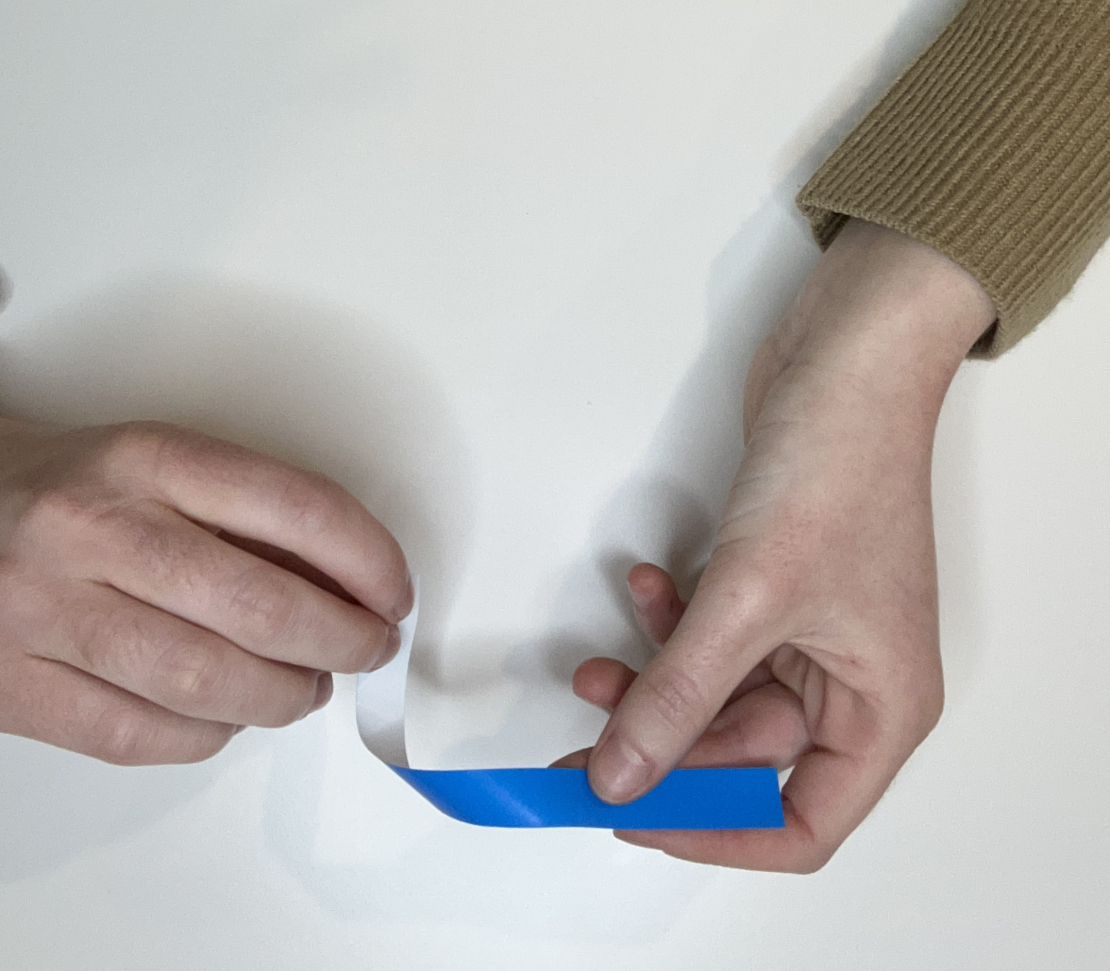
Step 3: Bring the same right end up and over the left. This should make a loop with a hole in the centre.
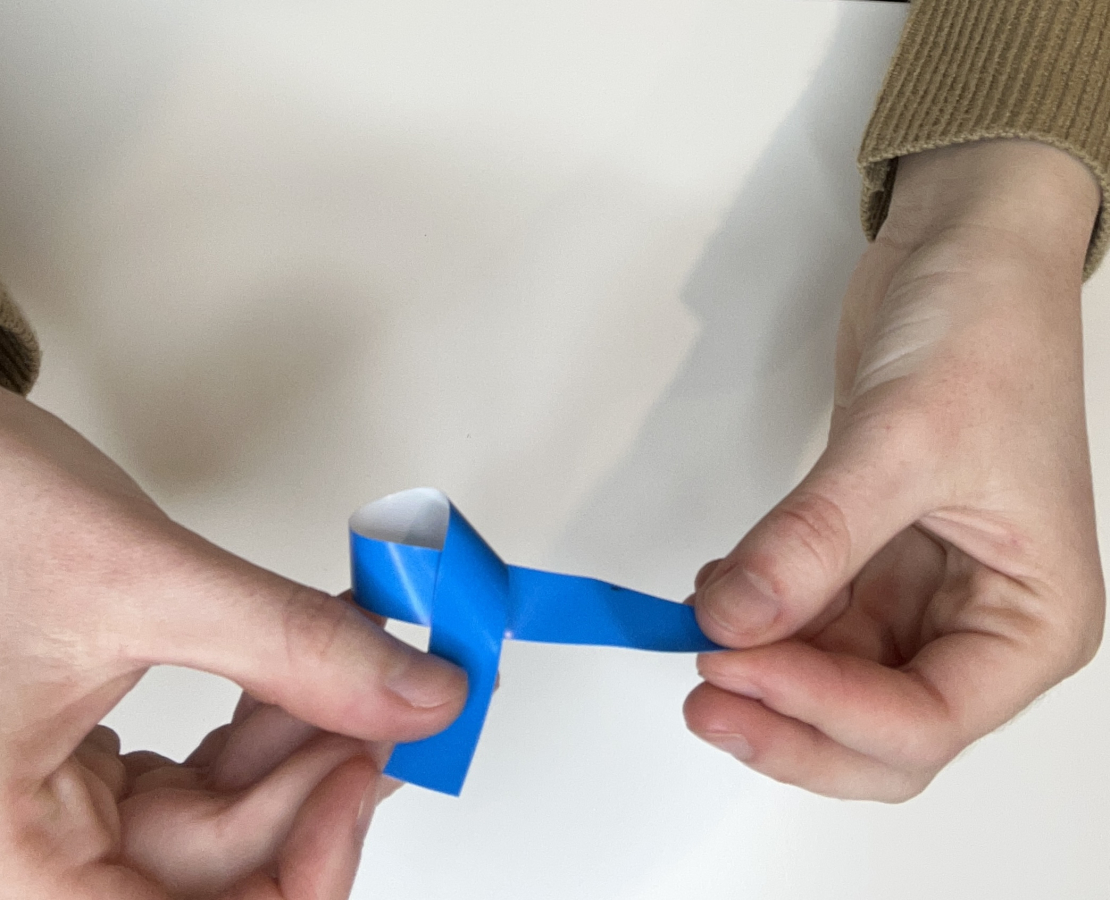
Step 4: Now that you have a loop, feed the top end behind and through the hole, creating a knot.
Step 5: Continue to pull the end through the loop and gently pull the bottom end to tighten the knot.
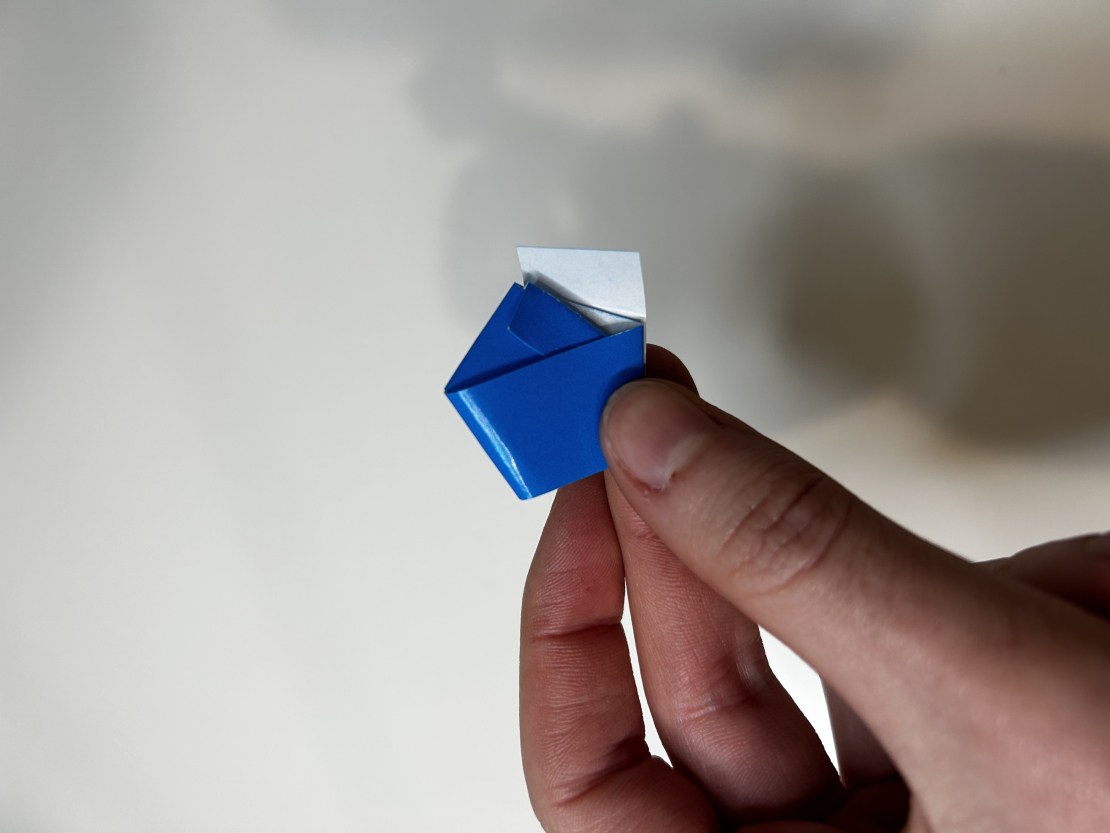
Part 2: Make the Knot of the Star
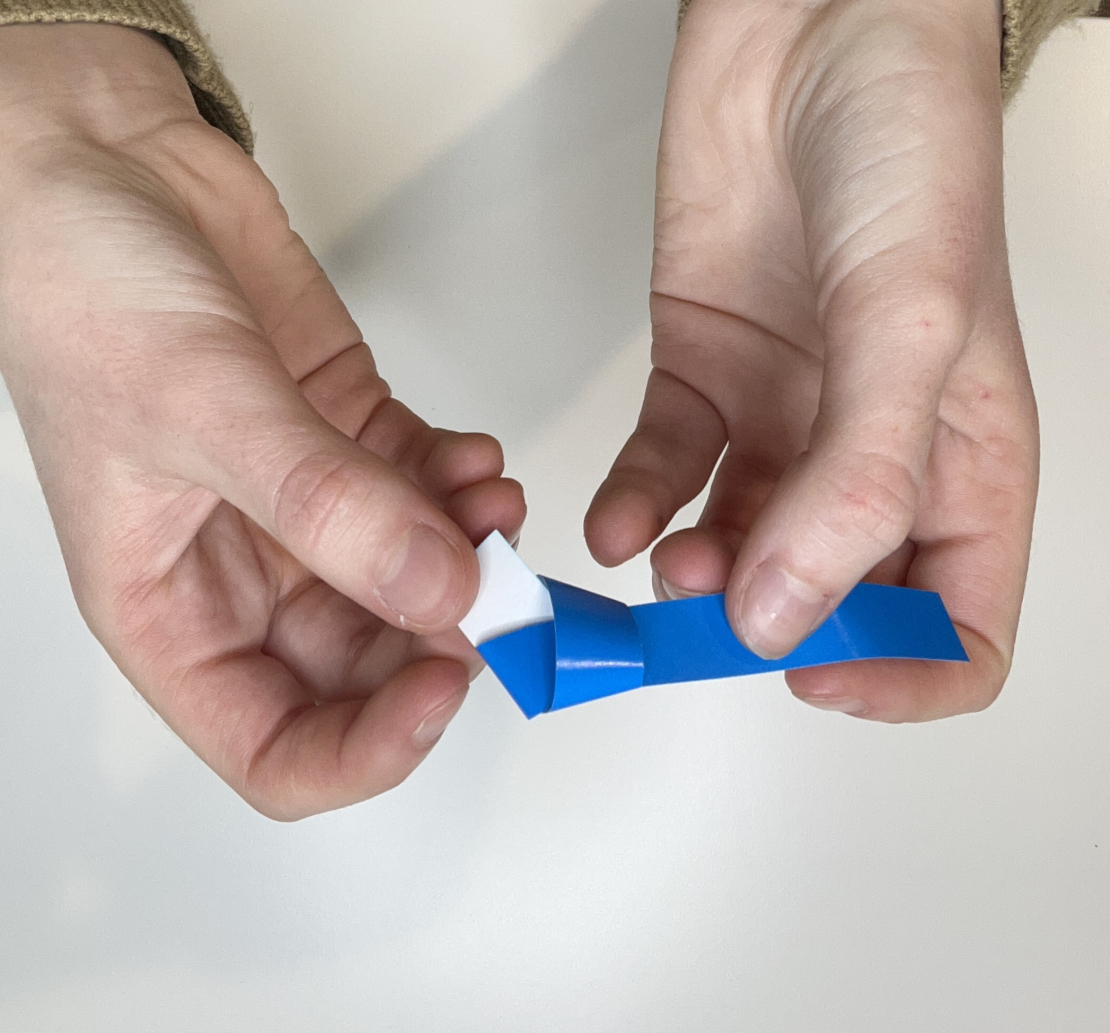
Step 6: Keep wiggling and pulling the knot tighter, flattening it at the same time. Eventually, this will create a pentagon shape.
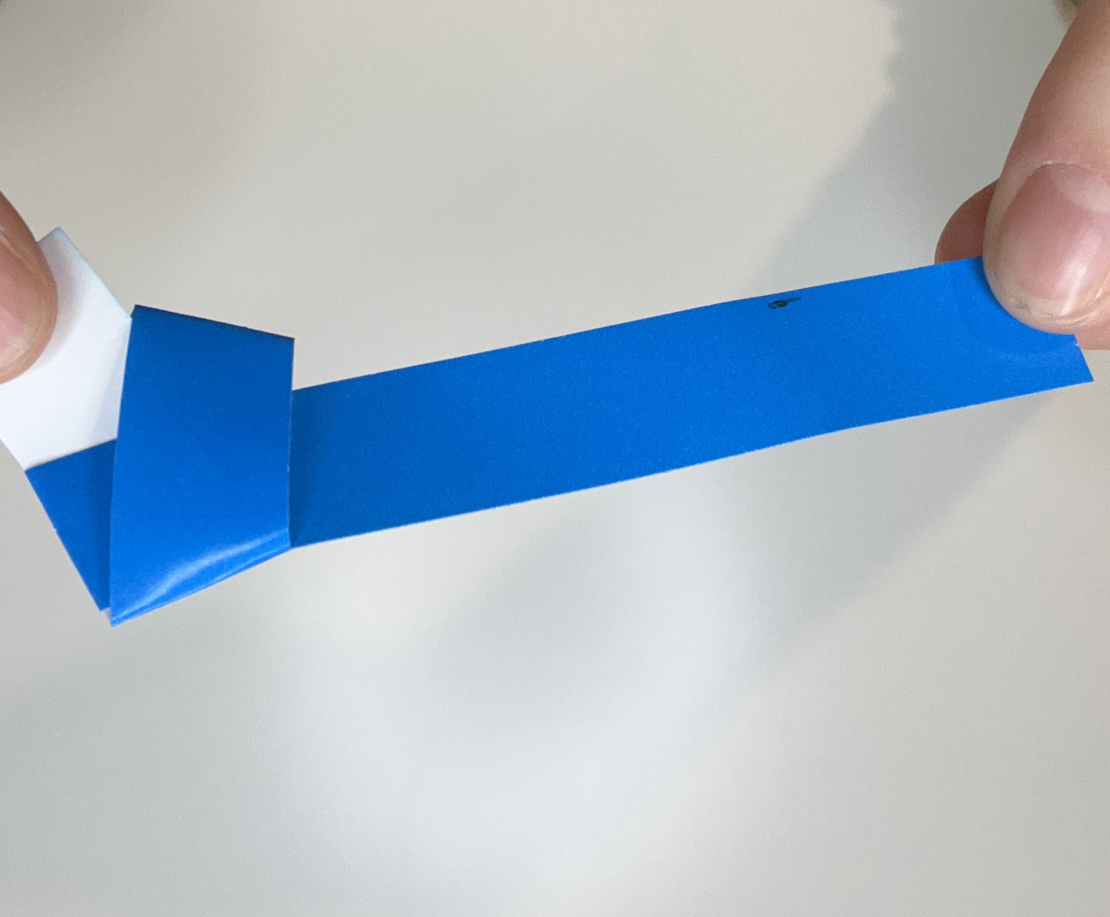
💡Activity Hack! The end of the paper strip on the left should be much longer than the end on the right. You do not need to cut it off, but you can if it’s too long.
Step 7: Fold the entire end on the left behind the knot, keeping the bottom edge aligned with the bottom edge of the pentagon. The tail should now be extended out the right side of the star. You are going to keep folding the strip around the five sides of the pentagon, building the sides of the star.
Part 3: Keep Wrapping the Pentagon
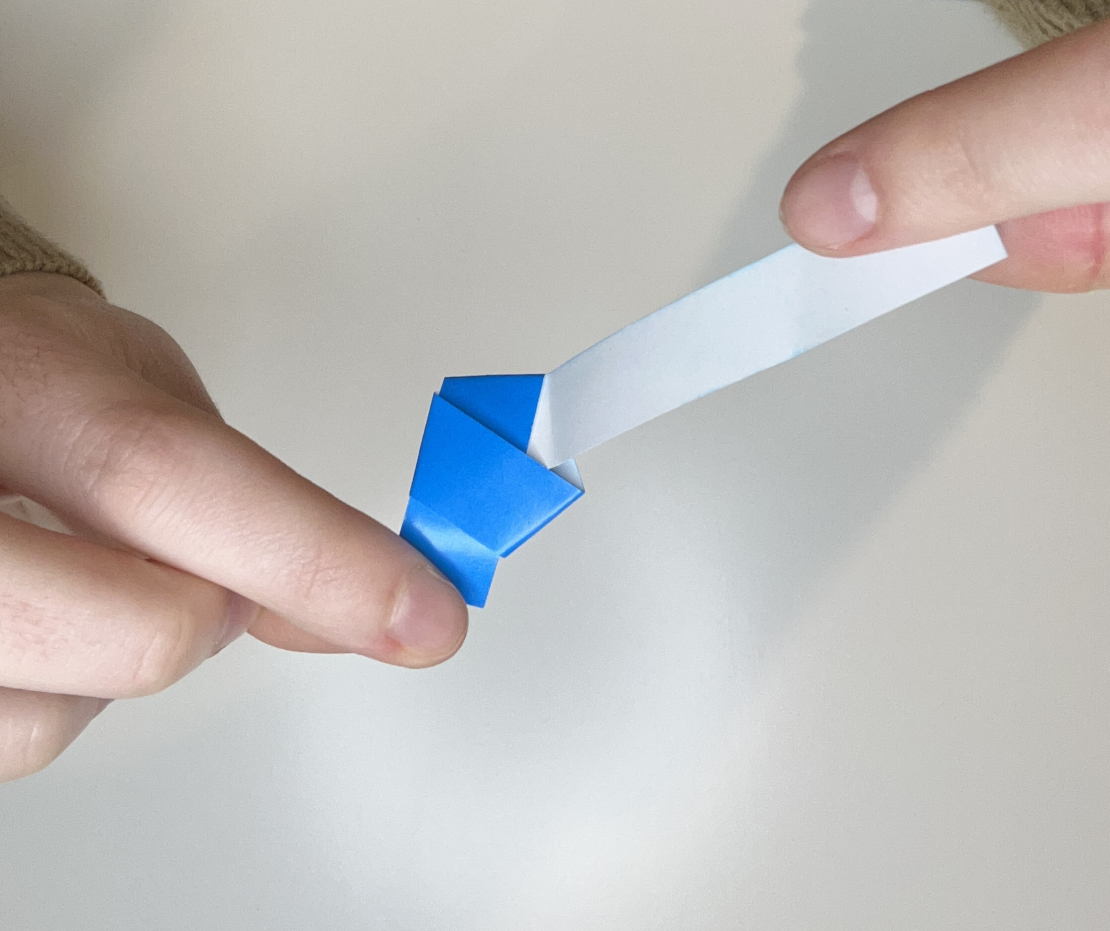
Step 8: Continue wrapping the pentagon. Fold the strip over to the top left. Wrap each strip over each side until the pentagon is fully covered.
Step 9: Fold the strip down behind to the bottom.

Step 10: Fold the strip up and over to the right.
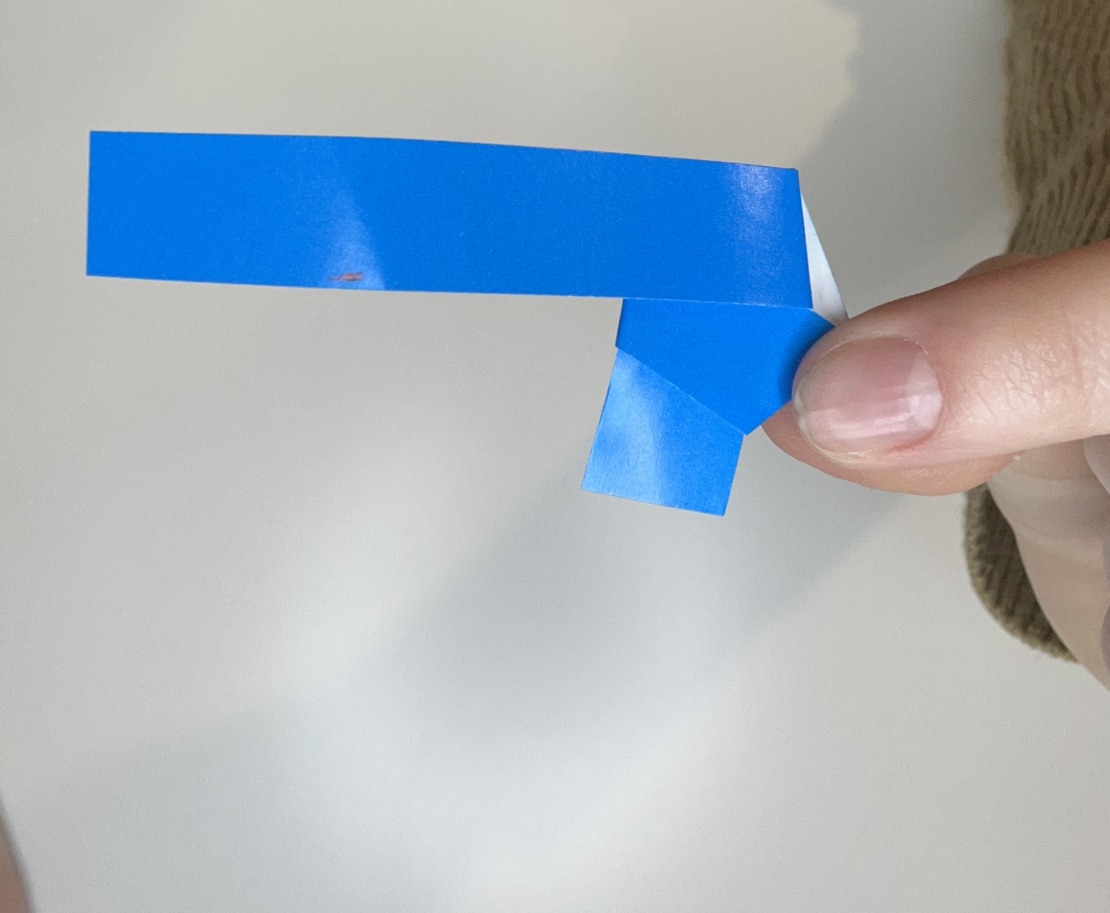
Step 11: Fold the strip over behind to the left and continue until you only have a small section left.
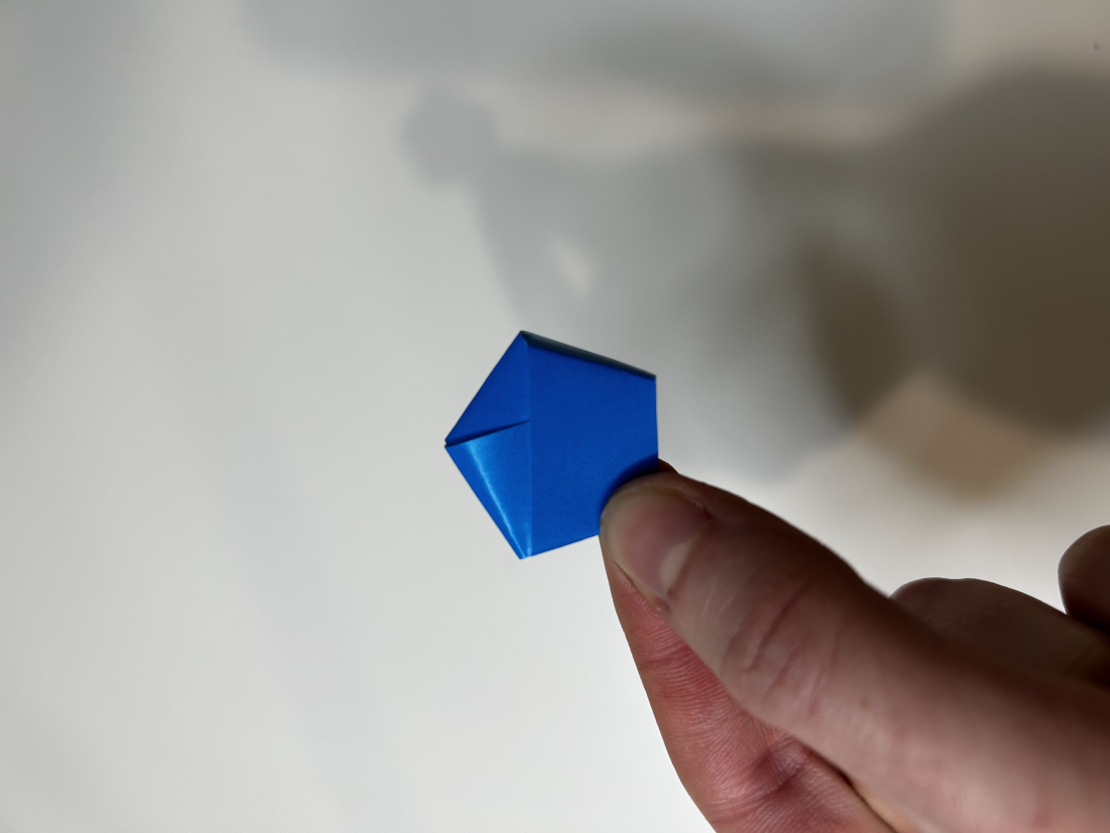
💡Activity Hack!If your strip is a bit too long, cut it or tear it off.
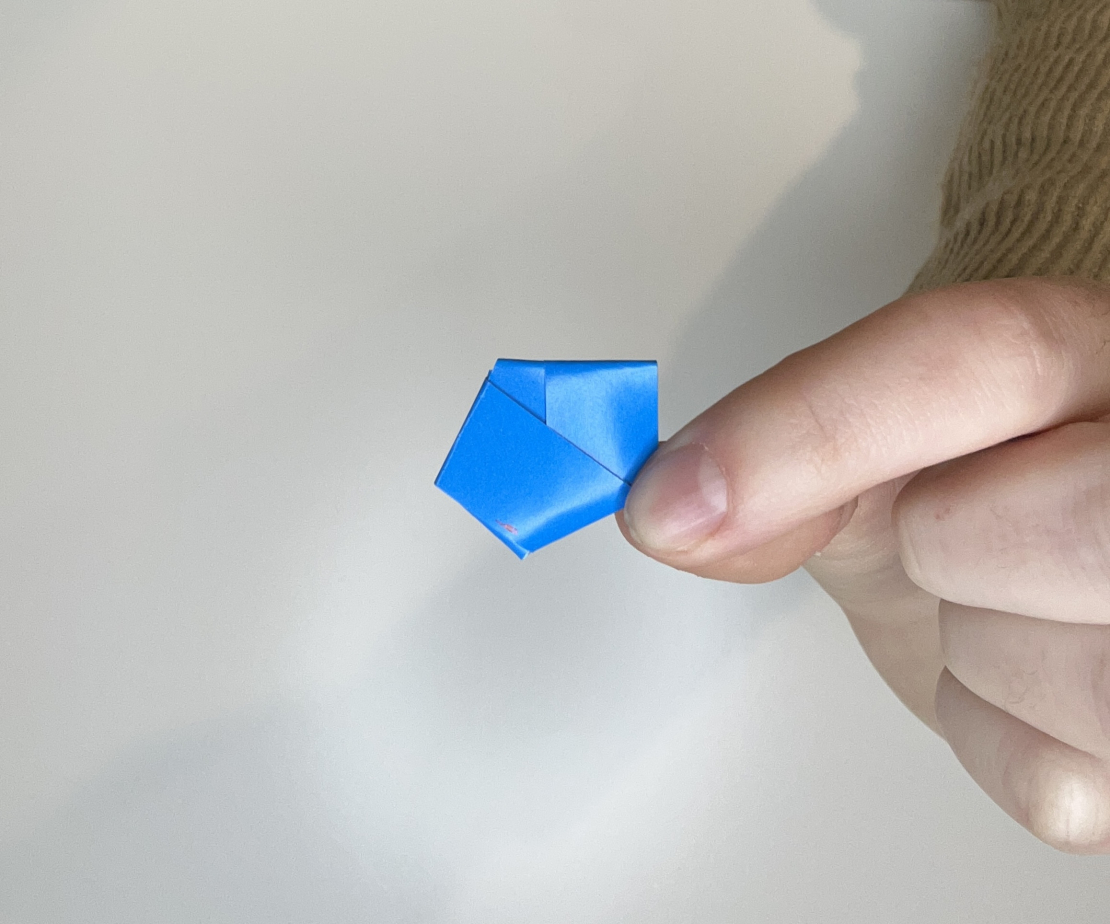
Part 4: Inflate the Star
Step 12: Now inflate the star. To do this, use your index finger and thumb to pinch in one of the points of the star. Alternatively, try using a pair of tweezers to put pressure on the point of the star.
Step 13: Rotate the star and gently do the same on all of the points.
Paper Stars Complete! Congratulations!
How It Works
Paper stars are popular for their simplicity, versatility, and aesthetic appeal. They are often associated with good luck and are used in various cultural and decorative contexts. The key to making them work is mastering the folding, twisting, and coiling techniques to create the desired star shape.
Let your Club leaders know if you enjoyed this activity and maybe origami hearts or a flat ninja star could be next activities!
This activity is inspired by:
https://www.thesprucecrafts.com/make-origami-lucky-stars-4107161